
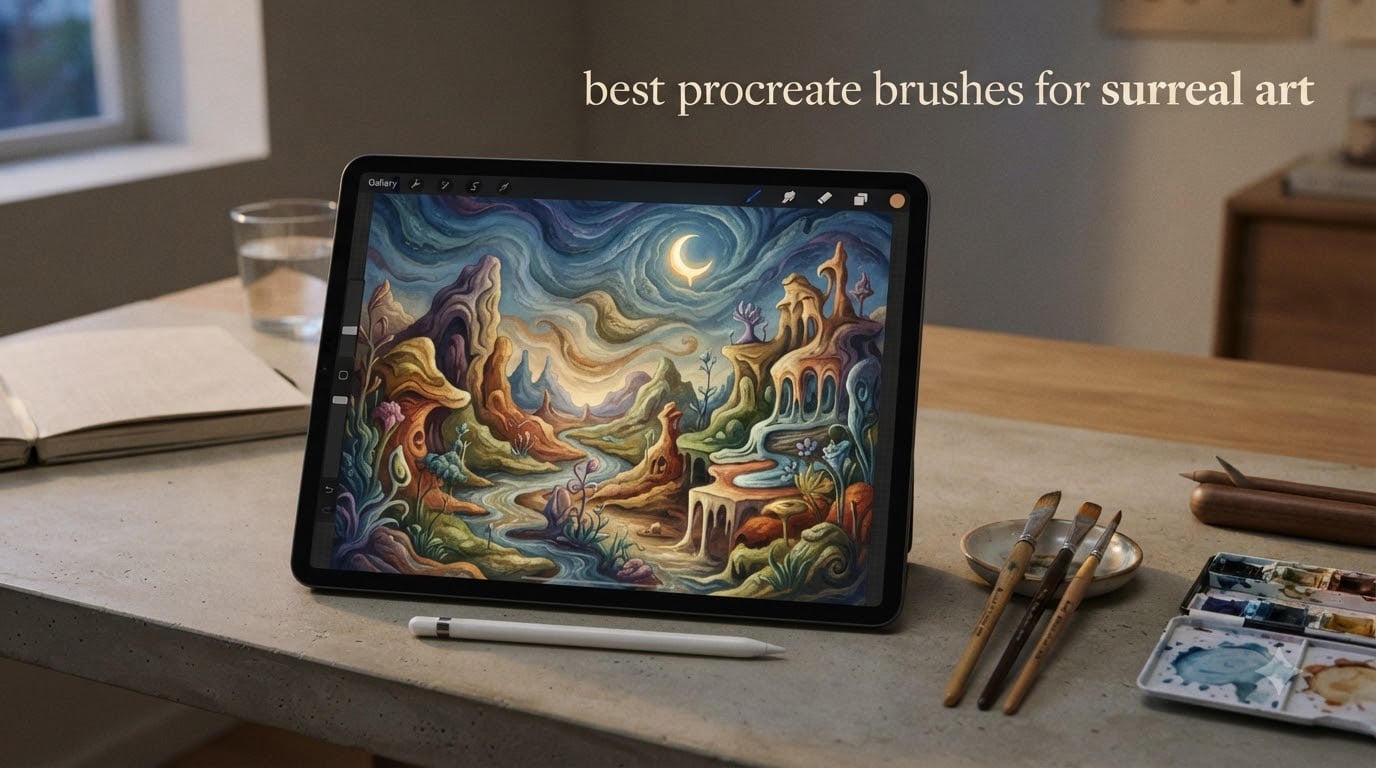
Surreal art on Procreate is one of the most rewarding digital painting experiences I have tried. The combination of textured brushes, dreamlike color palettes, and layer blend modes lets you create imagery that feels pulled from another dimension. Whether you want to paint Beksinski-style decay, Dalí-like melting forms, or Magritte-inspired clean surrealism, the right Procreate brushes for surreal art make all the difference.
In this guide, I cover the best Procreate brushes for surreal art, including default brushes you already own, techniques used by famous surrealist painters, and how to tweak Brush Studio settings for custom dreamlike textures. I have spent months testing these brushes on iPad across dozens of surreal paintings, and the recommendations here reflect what actually works in practice.
Table of Contents
Top 8 Procreate Brushes for Surreal Art at a Glance
If you want a quick starting point, here are the eight brushes I reach for most often when painting surreal art in Procreate:
- 6B Pencil (modified) – The workhorse for surreal sketches and textured linework. Tweak the streamline and opacity settings in Brush Studio and it becomes a dreamlike drawing tool that feels organic.
- Spatter – Creates atmospheric noise, grain, and decay. Use it at low opacity on Overlay blend mode for instant grunge texture in skies, backgrounds, and surreal landscapes.
- Noise – Adds subtle film grain and dust that gives paintings a cinematic, otherworldly quality. Essential for that analog-surreal look.
- Soft Airbrush – Perfect for smooth blending, glowing highlights, and ethereal atmospheric effects. I use it constantly for dreamlike skies and skin tones in surreal portraits.
- Studio Pen – Clean, precise linework for surreal objects that need sharp edges against textured backgrounds. Great for Magritte-style flat surrealism.
- Lightpen – Produces luminous strokes that work beautifully for glow effects, neon accents, and light sources in surreal compositions.
- Gouache Shader – Offers opaque, creamy strokes that mimic traditional gouache painting. Excellent for building up surreal forms with a handmade, tactile feel.
- Charcoal Brush – Rough, expressive marks perfect for Beksinski-style textures and dark atmospheric surrealism with a raw, organic edge.
These eight brushes cover roughly 90 percent of what you need for surreal digital painting. You already own six of them – they come pre-installed in Procreate.
Default Procreate Brushes That Already Do Surreal
One of the best-kept secrets in the Procreate community is that the default brushes are genuinely powerful for surreal art. You do not need to spend anything to start painting dreamlike, otherworldly scenes. Here is what each default brush brings to surreal painting.
6B Pencil
The 6B Pencil is probably the most versatile default brush for surreal work. In its unmodified state, it produces soft, textured strokes with natural pressure variation. But the real magic happens when you open Brush Studio and increase the Streamline setting to around 40-60 percent.
This creates a slightly delayed, flowing line that feels dreamlike and organic. I use this modified 6B Pencil for initial sketches, atmospheric linework, and adding fine texture details to surreal landscapes. Artists on Reddit’s r/Procreate subreddit consistently name this as their most-used brush.
Spatter
The Spatter brush is the secret weapon for surreal atmosphere. It produces randomized dots and splashes that simulate noise, decay, and atmospheric grain. I paint with it at low opacity (15-30 percent) on a separate layer set to Overlay or Soft Light blend mode.
This instantly gives any surreal painting a grungy, textured quality that digital-only art often lacks. It works especially well for Beksinski-inspired backgrounds where decay and texture dominate the composition.
Noise
The Noise brush adds fine, even grain across your canvas. Think of it as digital film grain. I use it to break up overly smooth areas in surreal paintings and to add a subtle analog quality that makes the work feel more tangible.
A light pass of the Noise brush over a smooth gradient sky transforms it from clean and digital to atmospheric and mysterious. It is one of the simplest ways to push a painting toward a surreal, dreamlike mood.
Soft Airbrush
For smooth blending, glowing highlights, and ethereal light effects, the Soft Airbrush is unmatched among default brushes. I use it to create dreamlike skies, soft skin tones in surreal portraits, and luminous light sources that seem to glow from within the canvas.
The key with the Soft Airbrush is restraint. Build up color slowly with multiple light passes rather than laying down heavy opacity in one stroke. This creates the gradual tonal transitions that define atmospheric surrealism.
Studio Pen
When surreal art calls for clean, precise edges – think Magritte’s sharp surrealist objects floating against smooth skies – the Studio Pen delivers. It produces consistent, controlled lines with minimal texture variation.
I use the Studio Pen for surreal elements that need to feel solid and intentional against more textured, atmospheric backgrounds. The contrast between crisp linework and loose, textured painting is a core surrealist visual tool.
Lightpen
The Lightpen creates luminous, glowing strokes that feel like painting with light itself. It is ideal for adding surreal glow effects, neon highlights, and ethereal light sources to your compositions.
Try using the Lightpen on a layer set to Add or Screen blend mode. The strokes will glow against the underlying colors, creating that otherworldly luminance that defines so much contemporary surreal digital art.
Brushes Inspired by Surrealist Masters
Each great surrealist painter had a distinctive visual language, and you can recreate their aesthetic in Procreate by choosing the right brushes and techniques. Here is how I map brush choices to the masters.
Beksinski: Texture, Decay, and Dark Atmosphere
Zdzisław Beksiński painted worlds of organic decay, dark architecture, and nightmarish landscapes. His work is defined by heavy texture, muted color palettes, and an almost sculptural sense of form. In Procreate, I recreate the Beksinski look using a modified 6B Pencil for base sketching, Charcoal brushes for rough textural work, and the Spatter brush for atmospheric decay.
Layer blend modes are critical here. Paint your base in dark earth tones, then use Spatter on a Multiply layer to deepen shadows and add grain. Finish with a Noise layer on Overlay to unify the texture across the piece.
Dalí: Melting Forms and Smooth Glazes
Salvador Dalí’s surrealism is all about precise rendering of impossible forms. His melting clocks and dreamscapes demand smooth blending and careful tonal transitions. For a Dalí-inspired workflow, I rely on the Soft Airbrush for smooth glazing, the Studio Pen for crisp outlines, and a round brush with high opacity for solid color blocking.
Dalí’s paintings have a luminous, almost photographic quality. Use the Soft Airbrush on a low opacity (10-20 percent) to build up smooth tonal gradients, then add sharp details with the Studio Pen. The contrast between smooth and sharp is what makes Dalí’s surrealism feel uncanny.
Magritte: Flat Surrealism and Clean Lines
René Magritte’s work is deceptively simple – clean, flat areas of color with surreal juxtapositions. For Magritte-style surrealism, the Studio Pen is your primary tool for outlines, and a Flat brush or the default Round brush at full opacity handles the solid color fills.
Avoid heavy texture with Magritte-inspired work. The surrealism comes from the subject matter, not the brushwork. Keep your strokes flat and intentional, and let the bizarre compositions speak for themselves.
Leonora Carrington: Dreamy, Folkloric Imagery
Leonora Carrington’s paintings blend surrealism with folklore, featuring strange creatures, mythic landscapes, and a handmade, illustrative quality. I use Gouache brushes for their opaque, creamy strokes and Charcoal brushes for expressive line work when painting in her style.
Carrington’s palette leans toward muted, earthy colors with occasional vivid accents. Build your forms with the Gouache brush, then add fine details and linework with a slightly modified Studio Pen set to lower streamline for a more hand-drawn feel.
Texture and Grunge Brushes for Surreal Atmosphere
Texture is what separates surreal art from ordinary digital painting. The contrast between smooth areas and rough, gritty textures creates that uncanny feeling at the heart of surrealism. Here are the brush types I use to build texture.
Spatter and Splatter Brushes
Beyond the default Spatter brush, many free and paid packs offer variations with different scatter patterns, droplet sizes, and density levels. I use spatter brushes for atmospheric noise in skies, decay on surfaces, and randomized texture that breaks up digital smoothness.
Try painting a spatter layer at 20-30 percent opacity, then setting the layer to Overlay. This adds instant grunge texture to any area of your surreal painting without overpowering the underlying colors.
Gouache and Opaque Brushes
Gouache brushes produce thick, creamy strokes with slight texture that mimics traditional paint. They are perfect for building surreal forms with a tactile, handmade quality. The opaque nature of gouache means you can layer colors without the underlying layers bleeding through, which gives you precise control over your surreal compositions.
Charcoal and Graphite Brushes
For raw, expressive mark-making, charcoal brushes are essential. They produce rough, broken strokes with natural variation that feels analog and organic. I use charcoal brushes for dark atmospheric areas, sketchy surreal linework, and adding rough texture to landscapes and figures.
Halftone and Stipple Brushes
Halftone and stipple brushes create patterns of dots that evoke vintage printing and pop art aesthetics. In surreal art, I use them sparingly to add visual interest to specific areas – a halftone sky, stippled shadows, or dotted texture on surreal objects. They add a graphic quality that contrasts beautifully with painterly brushwork.
Brushes for Surreal Portraits
Surreal portraits are one of the most popular sub-genres of surreal digital art. The challenge is painting recognizable human features that have been distorted, dreamlike, or merged with impossible elements. Here is my brush toolkit for surreal portraits.
Skin Texture and Tones
For realistic skin with a surreal twist, I start with the Soft Airbrush for base skin tones, building up warm undertones in thin layers. Then I switch to a textured brush – either a modified 6B Pencil or a dedicated skin texture brush – to add pores, imperfections, and surface variation.
The surreal element comes from exaggerating or distorting these textures. I might paint skin that transitions into tree bark, or freckles that become stars. The Soft Airbrush handles the smooth transitions while texture brushes provide the detail.
Hair and Flowing Elements
Hair in surreal portraits often flows, dissolves, or transforms into something else entirely. I use a combination of the Studio Pen for individual strands and a textured brush for bulk hair mass. For surreal transformations – hair becoming smoke, water, or vines – the Soft Airbrush blended with Spatter creates convincing transitions.
Eyes and Glow Effects
Eyes are the focal point of most surreal portraits. I paint the base eye with the Studio Pen for precision, then add luminous glow effects using the Lightpen or Soft Airbrush on an Add or Screen blend layer. This creates the glowing, otherworldly eyes that appear in so much contemporary surreal portrait art.
How to Tweak a Default Brush in Brush Studio for a Surreal Feel
One of the most powerful features of Procreate is Brush Studio, which lets you modify any default brush to suit your artistic needs. Here is how I tweak a standard brush into a surreal painting tool.
Step 1: Open Brush Studio
Tap the brush you want to modify to open its settings. At the top of the Brush Library, you will see a small preview of the current brush behavior. Tap on the brush name to enter Brush Studio.
Step 2: Adjust Streamline
Navigate to the Stroke Path section. Increase the Streamline slider to 30-60 percent. This adds a slight delay to your strokes, creating a smoother, more flowing line quality that feels dreamlike. Higher streamline values make your strokes feel less direct and more ethereal.
Step 3: Modify Opacity and Pressure
In the Apple Pencil section, adjust the Opacity pressure curve to make the brush respond more sensitively to light pressure. This creates a wider range of opacity from soft to firm strokes, which is essential for building up the gradual tonal transitions that define atmospheric surrealism.
Step 4: Add Texture with Grain
Navigate to the Grain section and experiment with different grain sources. Importing a photograph of concrete, paper, or rust as a grain source instantly gives your brush an organic, textured quality. Adjust the Scale and Depth sliders until the texture feels right for surreal work.
Step 5: Adjust Spacing and Scatter
In the Stroke Path section, increasing Spacing breaks your stroke into discrete marks, which creates a stippled, textured effect. In the Dynamics section, increasing Jitter on position or size adds randomized variation that makes strokes feel organic and imperfect – exactly what surreal art needs.
Step 6: Save Your Custom Brush
Once you are satisfied with the brush behavior, tap Done to save it. Your modified brush appears in your brush library alongside the originals. I recommend creating a Surreal Brushes set to keep your custom brushes organized.
Layer Blend Modes That Pair with Surreal Brushes
Choosing the right blend mode can transform a good brush stroke into a stunning surreal effect. These are the five blend modes I use most when painting surreal art in Procreate.
Overlay
Overlay blends your brush strokes with the underlying colors, boosting contrast and saturation. I use Overlay when applying Spatter or Noise texture over my paintings. It adds grit and atmosphere without completely obscuring what is underneath.
Exclusion
Exclusion creates inverted, psychedelic color effects where your brush strokes meet the underlying colors. It produces unexpected, surreal color combinations that are perfect for alien landscapes, dreamlike skies, and otherworldly lighting. Paint with complementary colors on an Exclusion layer for maximum surreal impact.
Screen
Screen lightens the underlying colors based on your brush strokes. It is ideal for creating glow effects, light sources, and luminous atmospheric elements. I paint soft highlights with the Soft Airbrush on a Screen layer to add ethereal glow to surreal scenes.
Multiply
Multiply darkens colors where you paint. I use it with charcoal and spatter brushes to deepen shadows, add atmospheric density, and build up the dark, moody tones that define Beksinski-style surrealism.
Lighten
Lighten only affects areas where your brush stroke is lighter than the underlying color. It creates subtle, natural-looking highlights that work beautifully for adding soft light effects to surreal landscapes and portraits without overpowering the existing color structure.
Surreal-Friendly Color Palettes to Use with Your Brushes
Color choice is just as important as brush choice in surreal art. Here are five palette and brush combinations I use regularly.
Muted Earth Tones with Spatter
Deep browns, ochres, and desaturated greens paired with the Spatter brush create a Beksinski-inspired palette of decay and organic atmosphere. Use these colors at low opacity on Multiply layers for shadow depth.
Twilight Blues with Soft Airbrush
Deep indigos, dusty purples, and cool grays blended with the Soft Airbrush produce dreamlike twilight skies and nocturnal atmospheres. This palette works beautifully for surreal landscapes that feel vast and mysterious.
Desaturated Pastels with Gouache
Muted pinks, dusty lavenders, and faded teals painted with Gouache brushes create a nostalgic, dreamlike quality. This palette suits surreal portraits and interior scenes with a gentle, unsettling calm.
Warm Amber and Coral with 6B Pencil
Burnt oranges, warm ambers, and soft corals drawn with a modified 6B Pencil evoke sunset lighting and warm atmospheric haze. Use this combination for surreal scenes that feel simultaneously warm and uncanny.
Monochrome with Charcoal
Black, white, and gray painted with Charcoal brushes produces stark, graphic surrealism. This palette works especially well for Beksinski-style dark surrealism and dramatic, high-contrast compositions.
How to Install Brushes in Procreate
Installing new brushes in Procreate takes only a few steps. Here is how to do it on your iPad.
From a Downloaded File
Download the .brush or .brushset file to your iPad. Open the Files app and navigate to the downloaded file. Tap the file, and Procreate will automatically import it into your Brush Library. The new brushes appear in a new set at the top of your library.
From an Email or Cloud Storage
If the brushes were sent via email or stored in iCloud, Google Drive, or Dropbox, open the file from that app. iOS will recognize the .brushset format and offer to open it in Procreate. Tap the share icon, select Procreate, and the brushes import immediately.
Organizing Your Brushes
After importing, I recommend dragging your new brushes into a custom set. Tap and hold a brush to pick it up, then drag it to the Create New Set option at the top of your Brush Library. Name the set something descriptive like “Surreal Textures” so you can find it quickly while painting.
Frequently Asked Questions
What are the best Procreate brushes for surreal art?
The best Procreate brushes for surreal art include the default 6B Pencil (modified), Spatter, Noise, Soft Airbrush, Studio Pen, and Lightpen. These six brushes cover the majority of surreal painting needs. For additional texture, add gouache and charcoal brushes from free packs available on Gumroad and Reddit.
Which default Procreate brushes are good for surreal painting?
Six default Procreate brushes work exceptionally well for surreal painting: 6B Pencil for textured sketching, Spatter for atmospheric grain, Noise for film-grain effects, Soft Airbrush for smooth blending and glow, Studio Pen for clean surreal linework, and Lightpen for luminous light effects. All of these come pre-installed in Procreate.
How do you make a dreamlike effect in Procreate?
To create a dreamlike effect in Procreate, combine textured brushes like Spatter and Noise at low opacity with layer blend modes such as Overlay, Screen, and Exclusion. Paint on separate layers for texture, glow, and atmosphere so you can adjust each element independently. Use the Soft Airbrush to soften edges and create gradual tonal transitions.
Are there free Procreate brushes for surreal art?
Yes, many excellent free Procreate brushes for surreal art are available. The default Procreate brushes are free and powerful enough for professional surreal work. Additionally, independent artists on Gumroad and the r/procreatebrushes subreddit regularly share free texture, charcoal, and atmospheric brush packs that are perfect for surreal painting.
What is the Spatter brush used for in Procreate surreal art?
The Spatter brush creates randomized dots and splashes that simulate noise, decay, and atmospheric grain. In surreal art, I use it at low opacity on Overlay or Soft Light blend layers to add instant grunge texture to skies, backgrounds, and surfaces. It is one of the most effective brushes for creating the aged, textured quality that defines atmospheric surrealism.
How do you make a custom brush in Procreate for surreal textures?
To make a custom surreal brush in Procreate, open Brush Studio by tapping any brush, then adjust Streamline to 30-60 percent for dreamlike stroke flow, modify pressure curves for opacity sensitivity, import a texture photograph as a grain source, and increase spacing or scatter for organic variation. Save the modified brush to your library for repeated use.
Final Thoughts
Finding the best Procreate brushes for surreal art does not require buying dozens of premium packs. The six default brushes covered in this guide – 6B Pencil, Spatter, Noise, Soft Airbrush, Studio Pen, and Lightpen – are genuinely powerful tools for creating dreamlike, otherworldly digital paintings. Combined with the right layer blend modes, color palettes, and Brush Studio tweaks, these brushes can produce surreal art that stands alongside traditional mixed-media work.
Start with the default brushes, experiment with the blend mode and texture techniques described here, and add one or two specialty brushes from the free packs available online. The surreal look comes less from the specific brush and more from how you layer textures, control opacity, and combine unexpected elements. Now open Procreate and start painting your first surreal masterpiece.